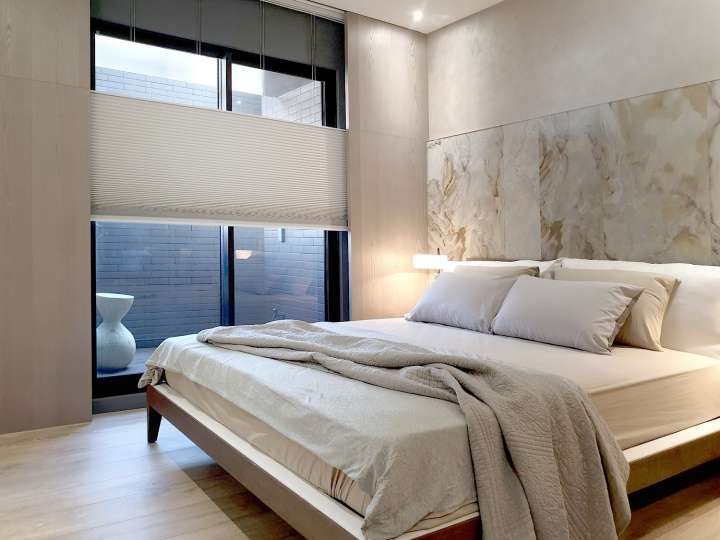
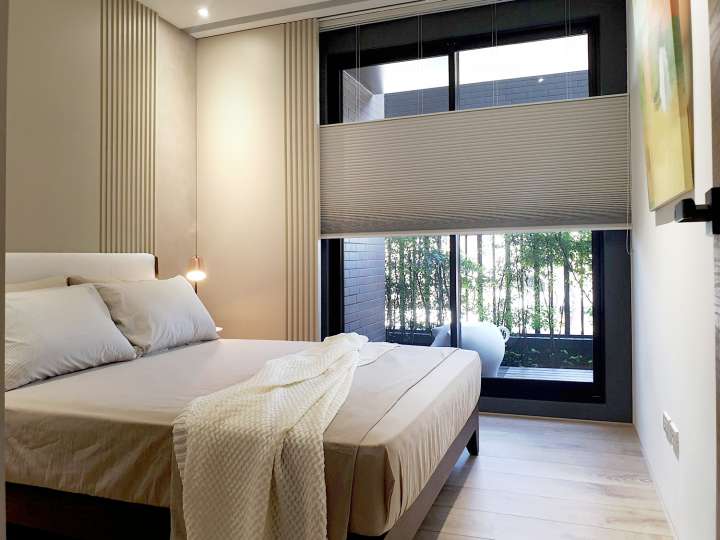
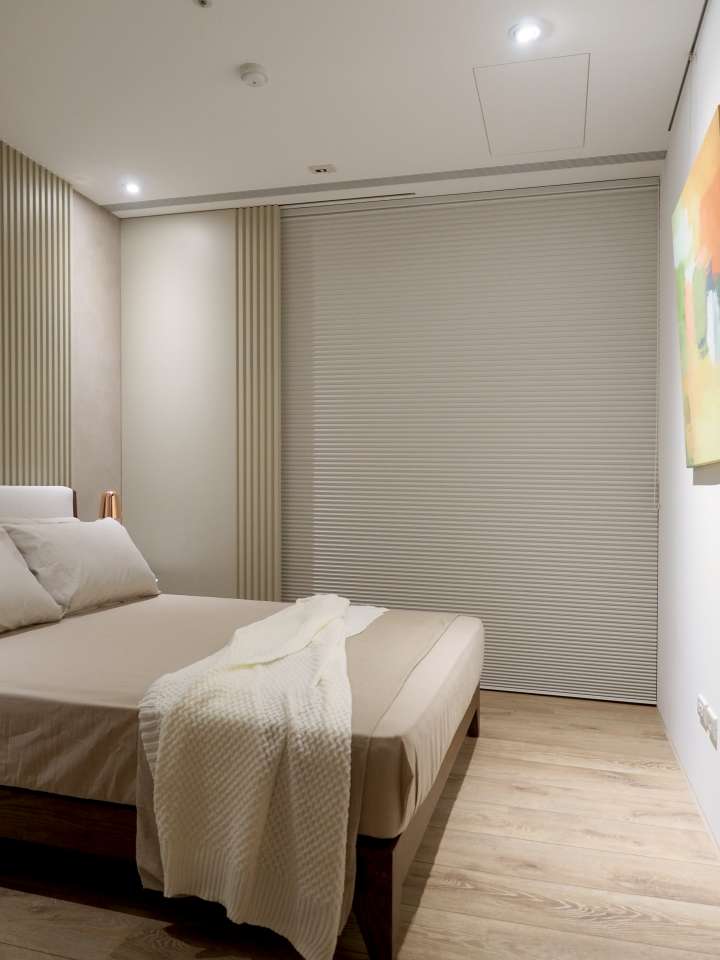
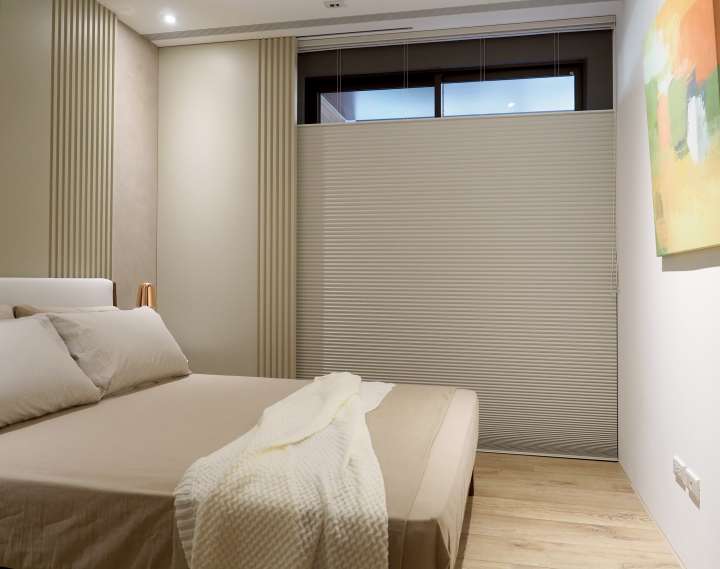
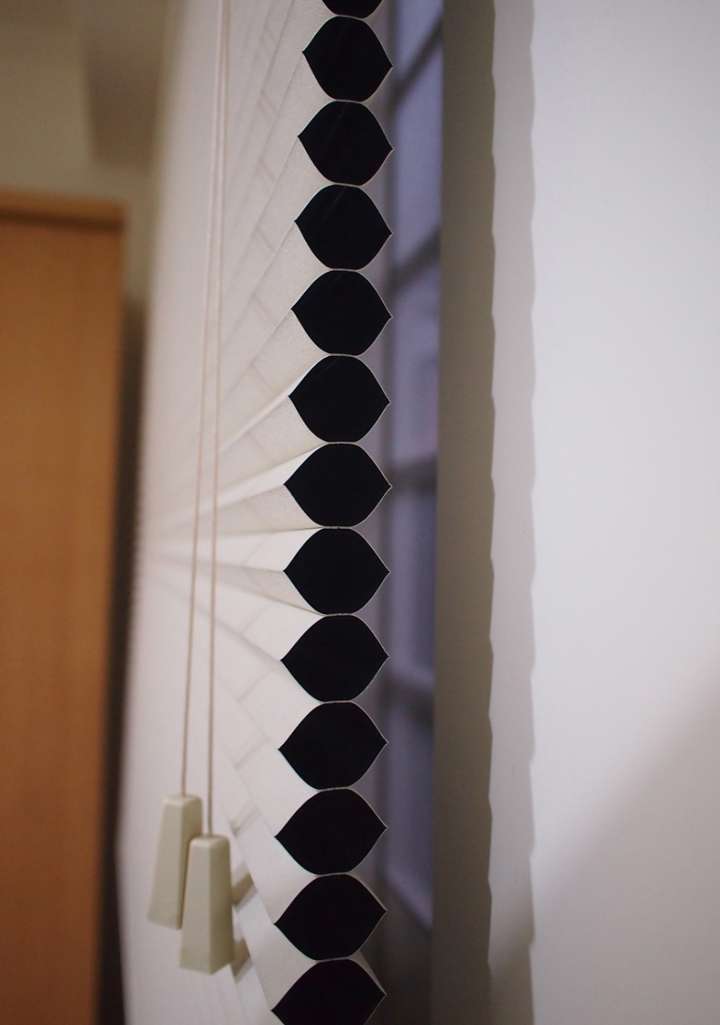
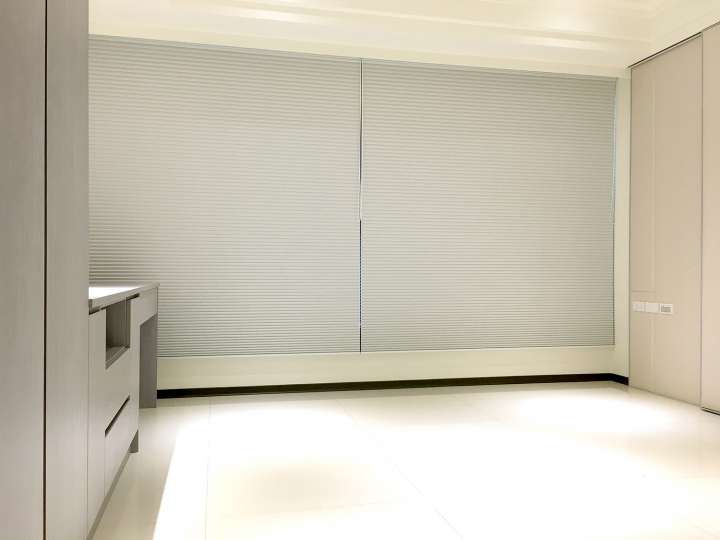
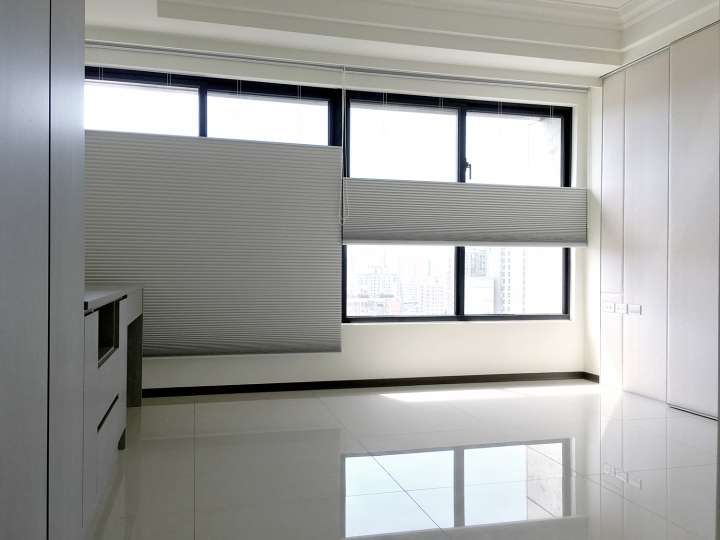
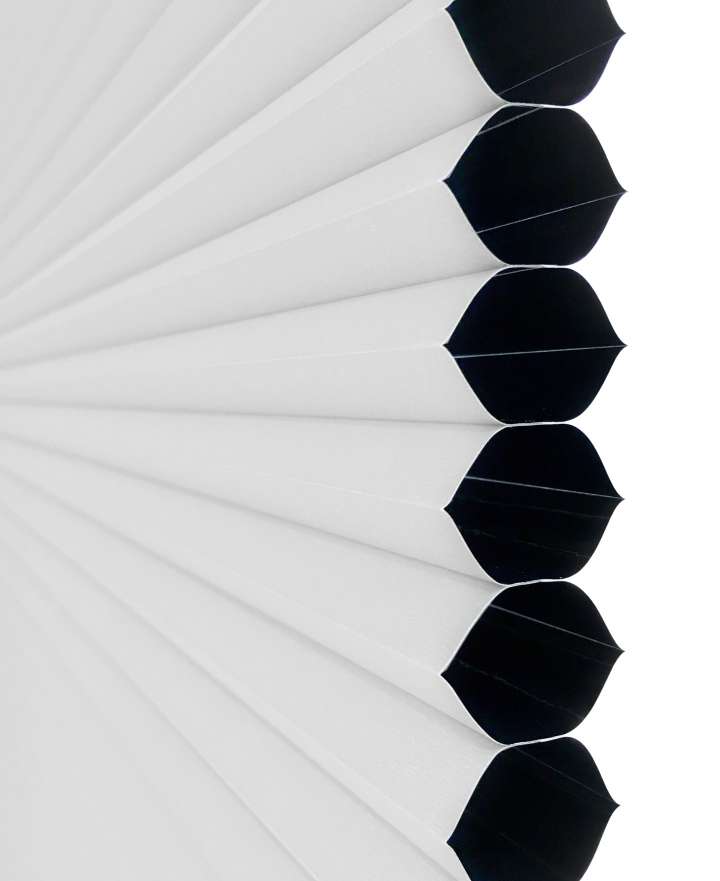
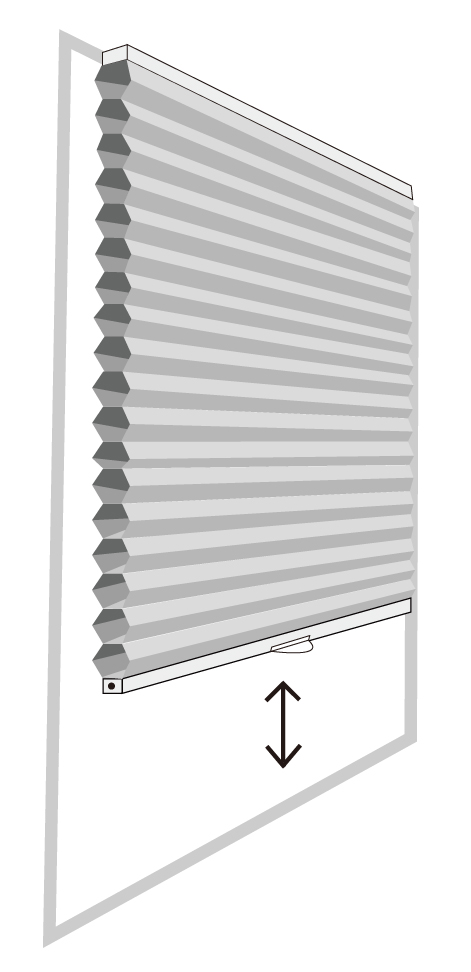
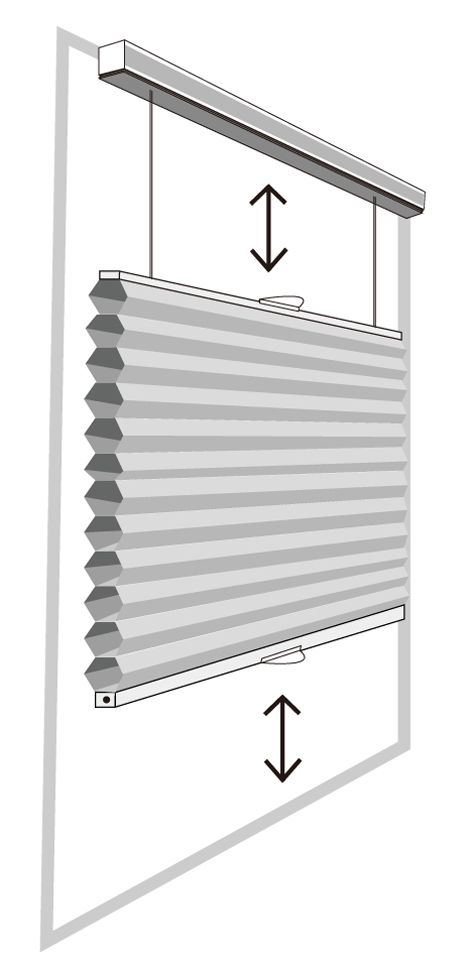
DIY illustration of Honeycomb Shade-Cordless
■ Tools: A ladder, an electric drill (with 6mm tail), a hammer, electric screwdriver, a measuring tape, a level and a pencil.
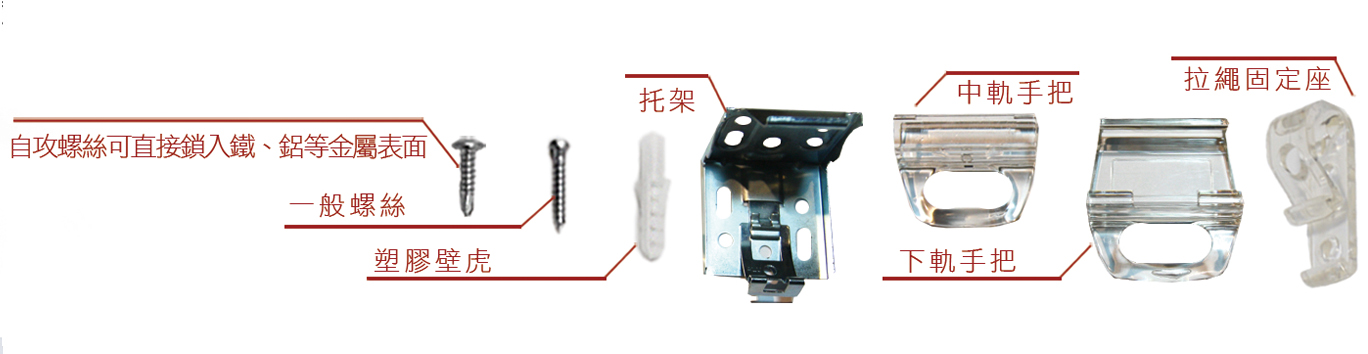
■ Components: handle clip of bottom rail, handle clip of middle rail, self-tapping screws, normal screws, plastic nylon anchors, safety hook, brackets.
Steps:
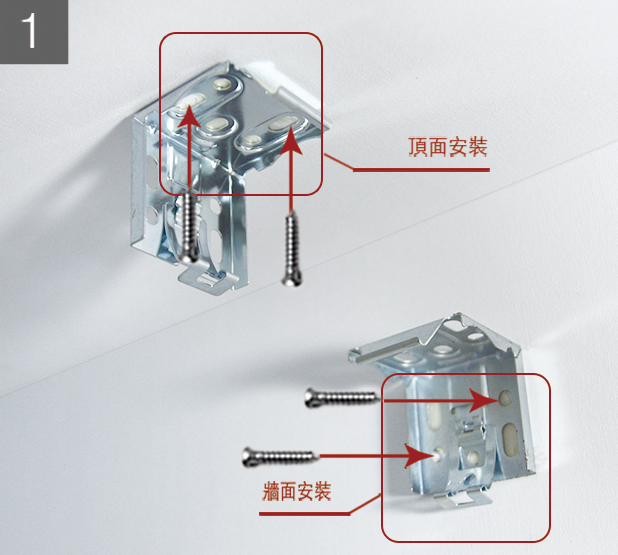
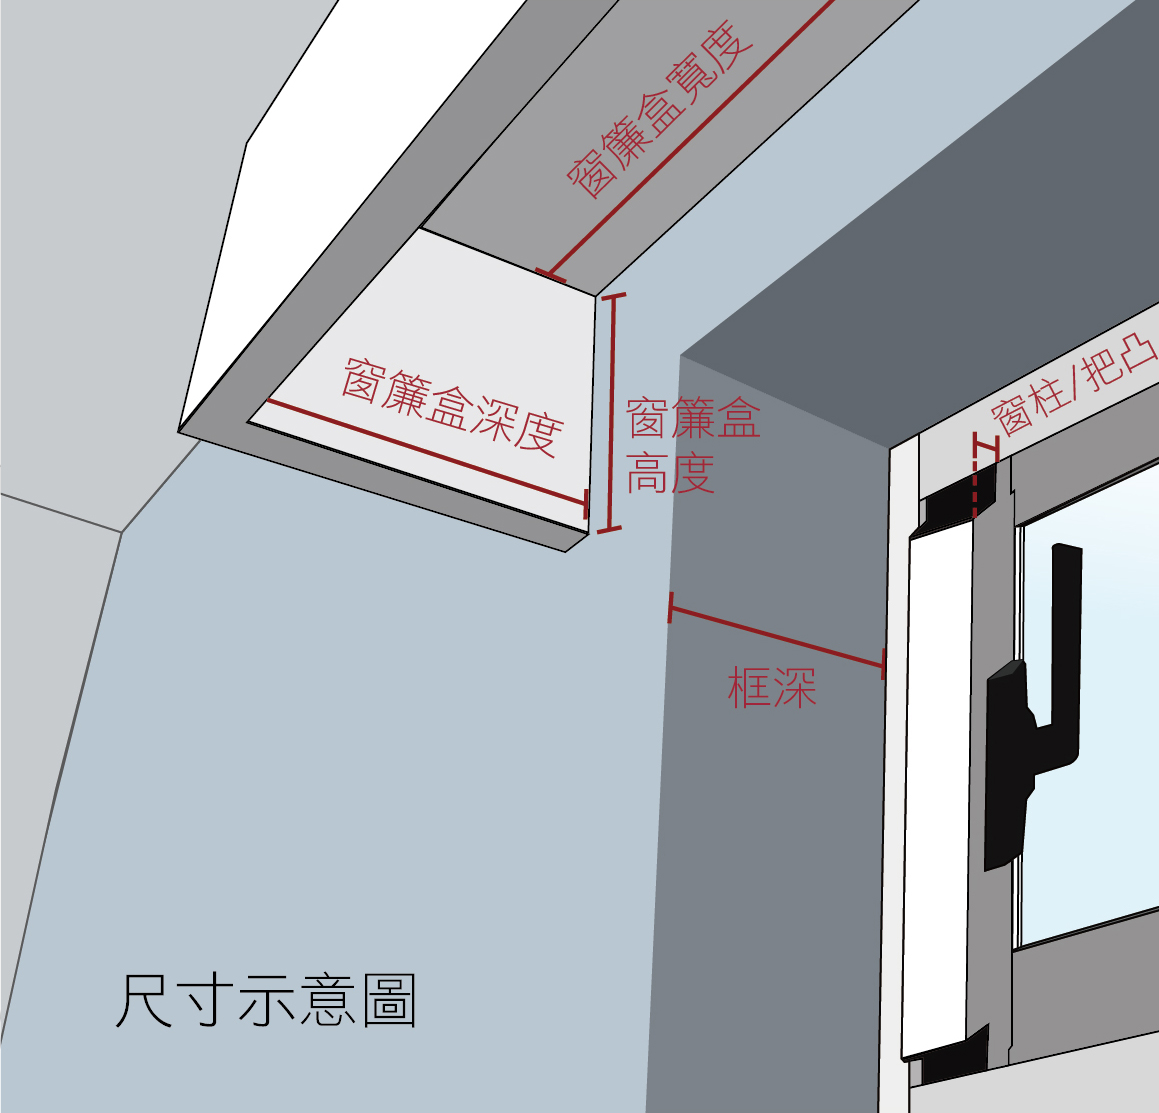
1. Decide the method of fitting brackets: Top-fixing or Face-fixing.
2. Mark reference holes to fix support bracket. Make sure that they are leveled.
* Avoid placing the bracket onto the parts of headrail and hinder operation of the blinds.
* 3 to 4 brackets might be needed for wider products. The distances between these brackets should be the same to avoid uneven weight. *
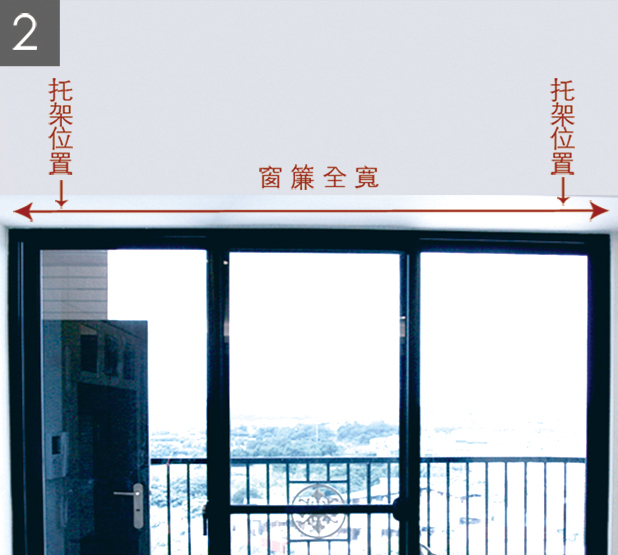
3. Drill at the reference mark, nail plastic nylon anchors into the wall and secure the mounting brackets.
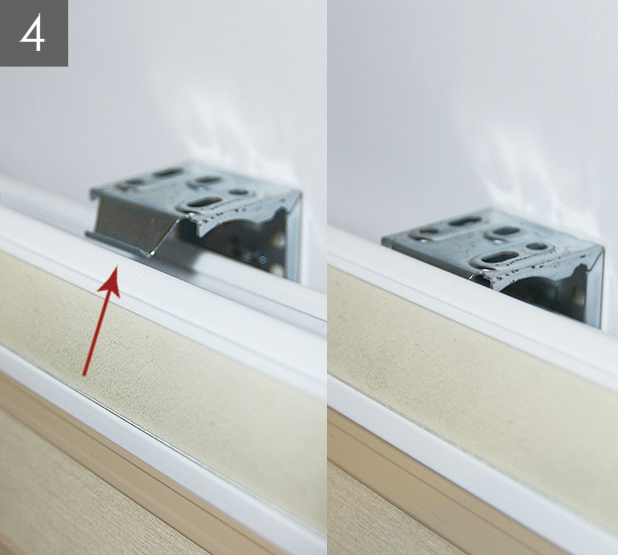
4. Snap the front clip of the spring bracket into the notch on the upper side of the shade.
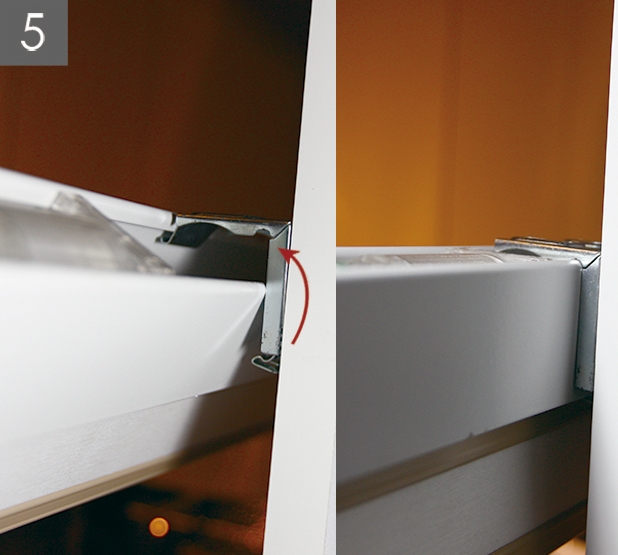
5. Push up and level the headrail to fit in the notch at the back of the headrail.
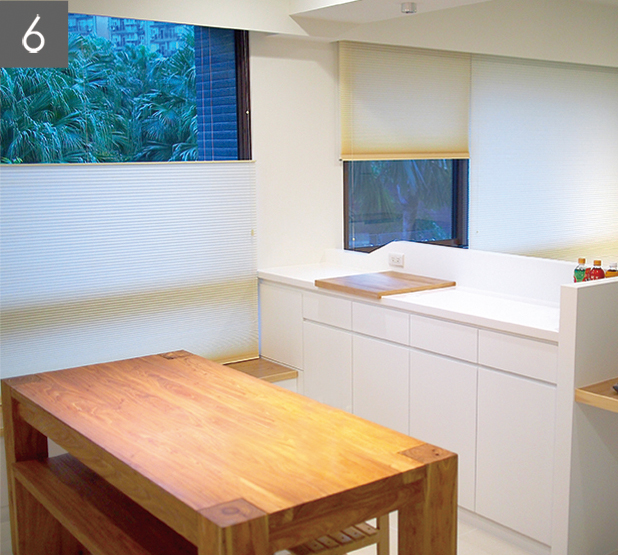
6. Installation complete
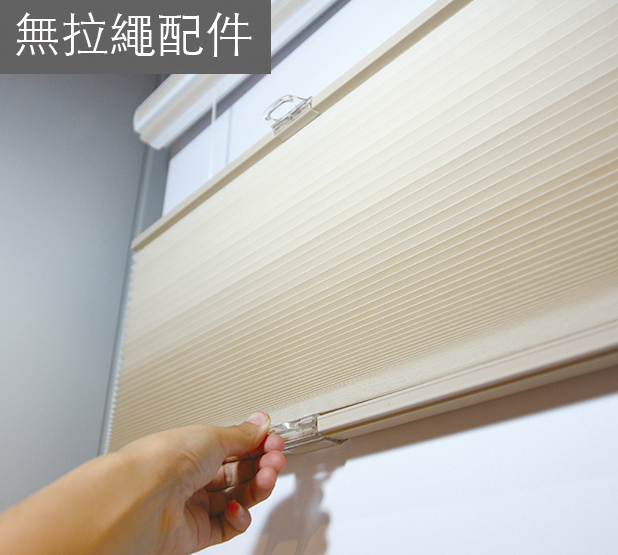
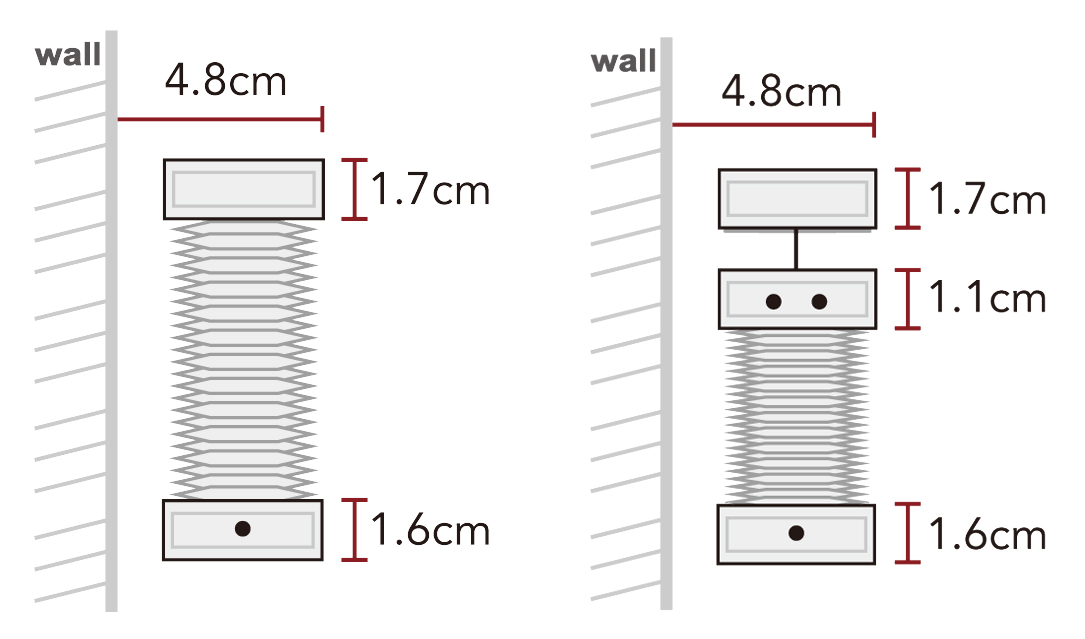
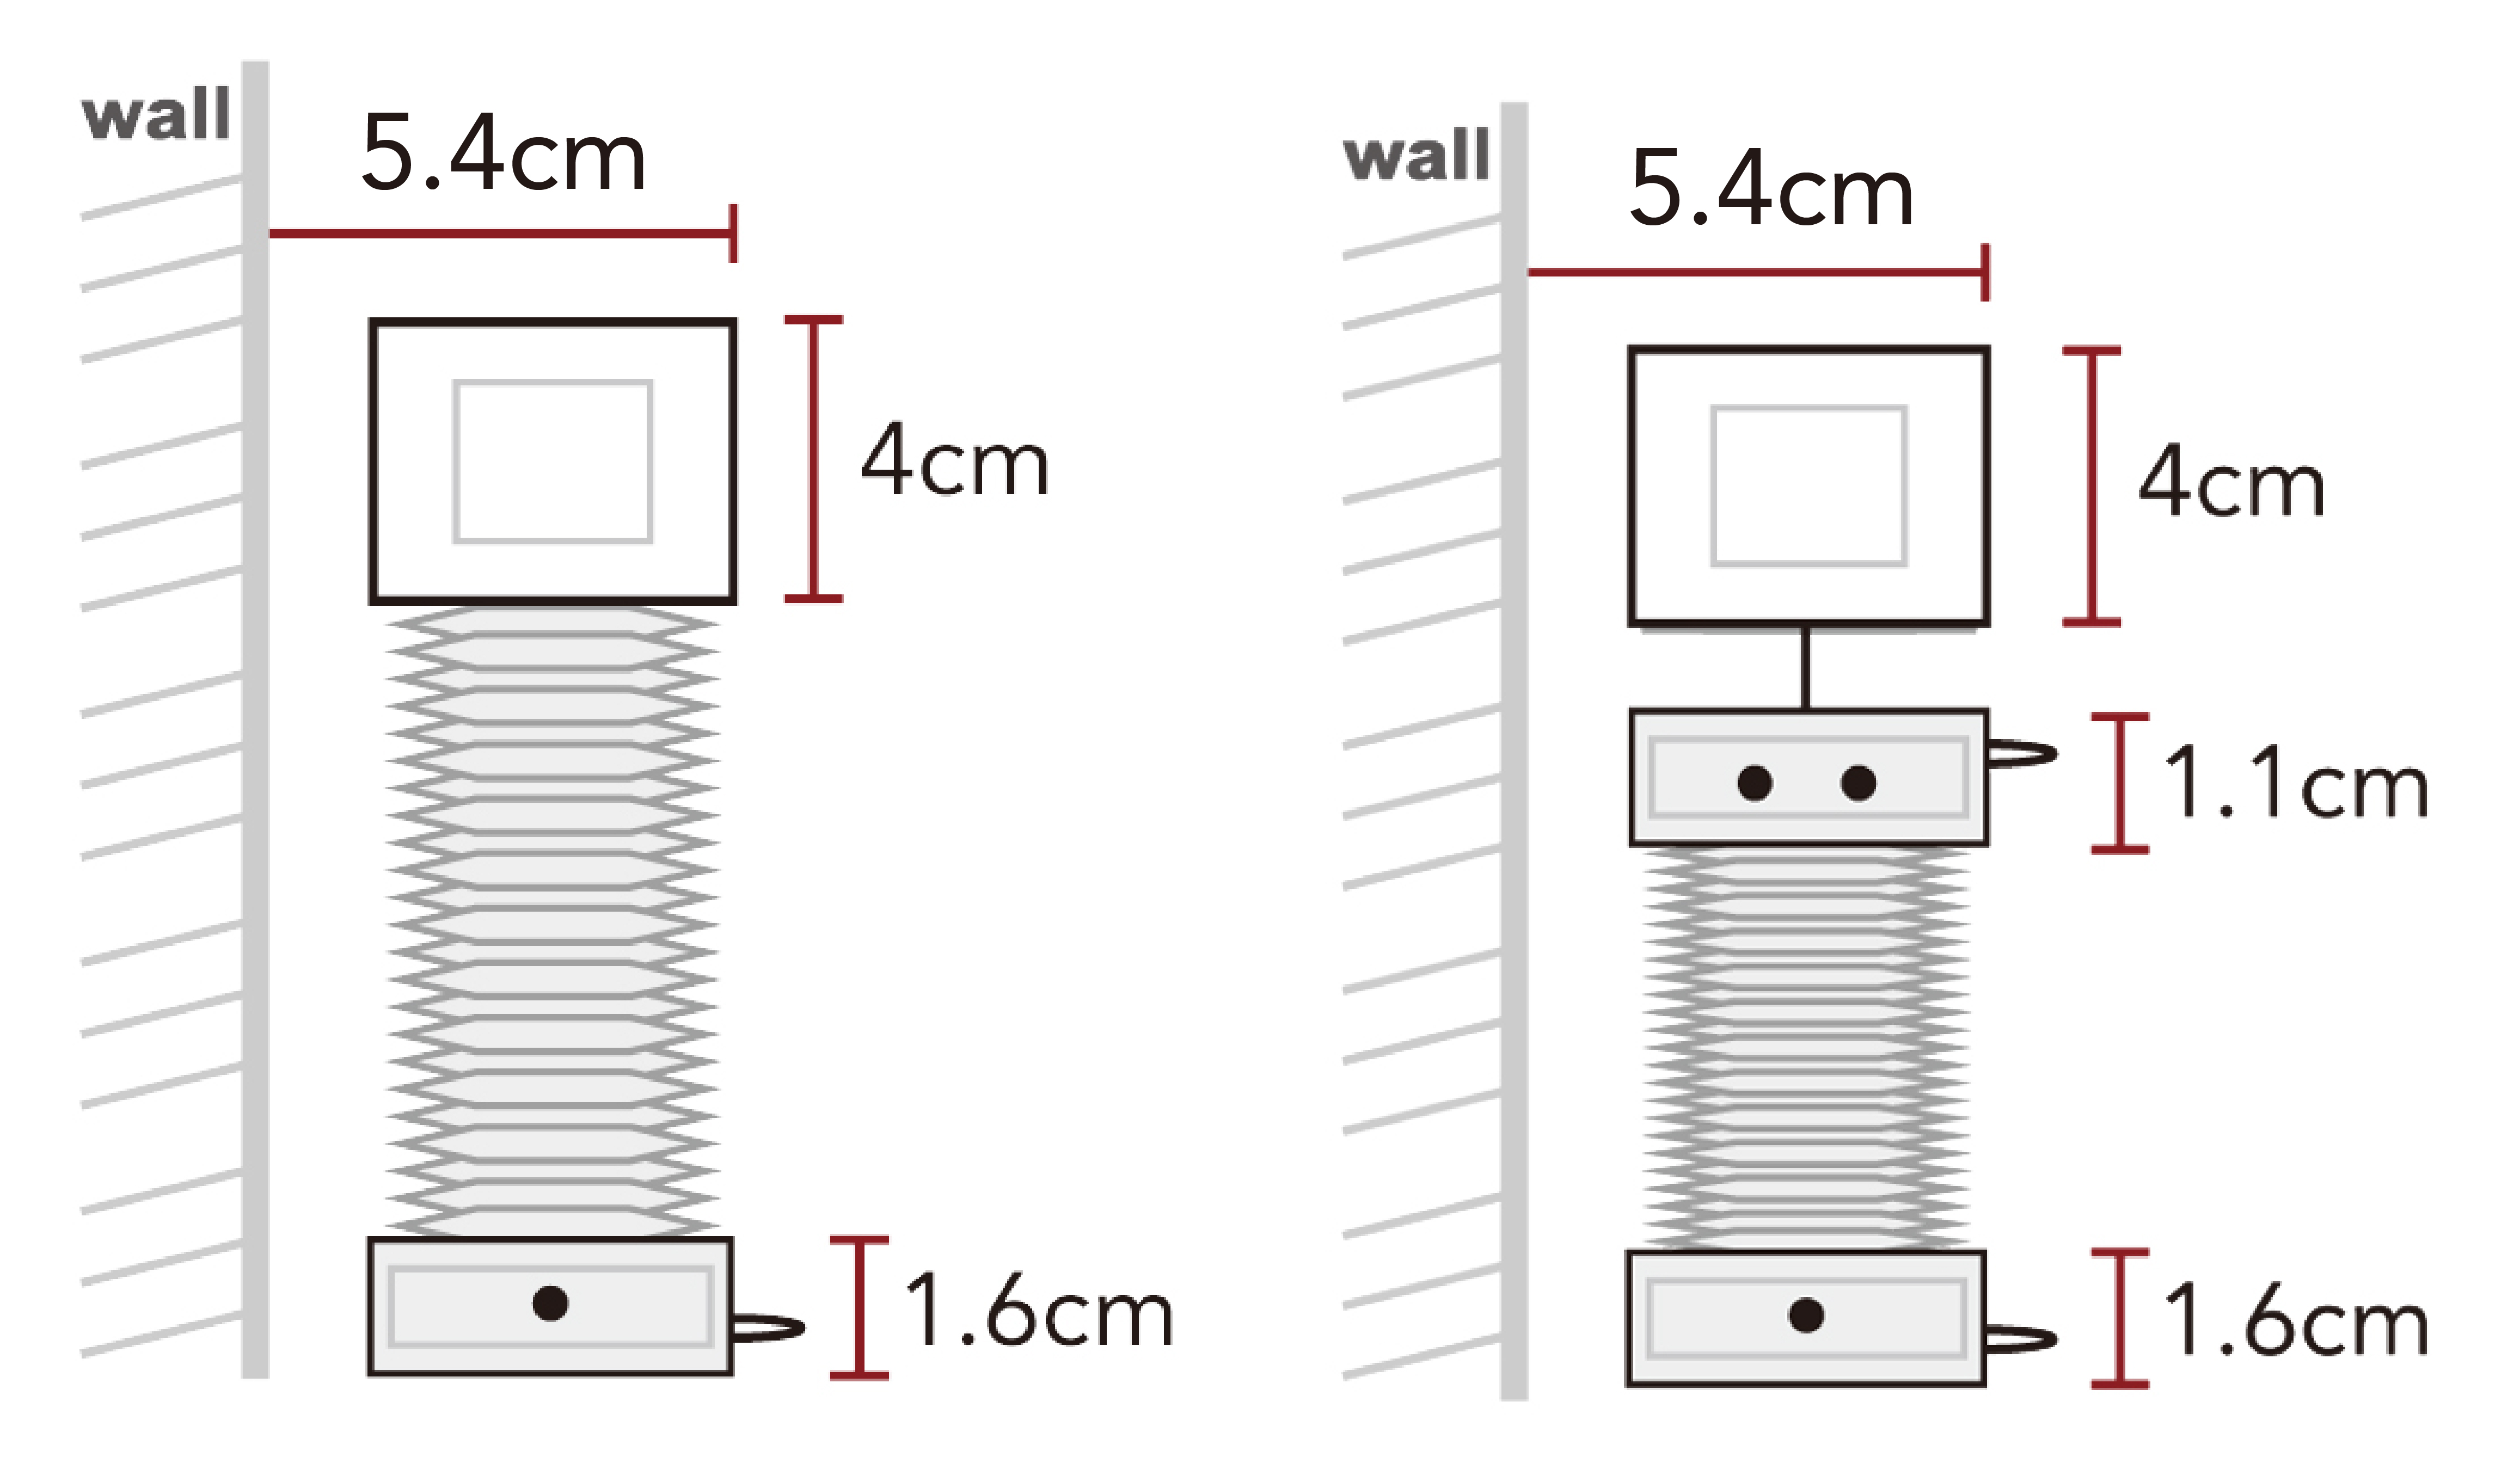
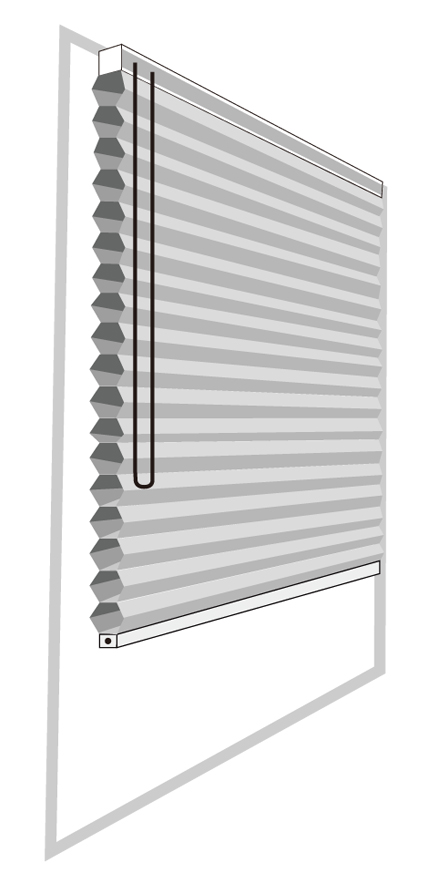
The handle clips of the middle (bottom) rail: Place them in the middle point of the rail facilitates the operation.
* this installation is optional depending on your usages.
Accessories of loop cord system:
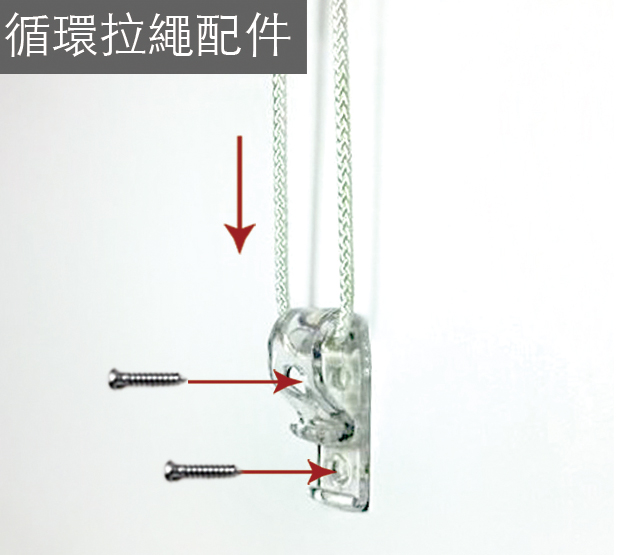
Safety hook: Set strings in and straighten it and screw tightly on the wall.
* This installation is optional depending on the usage and child safety environment.
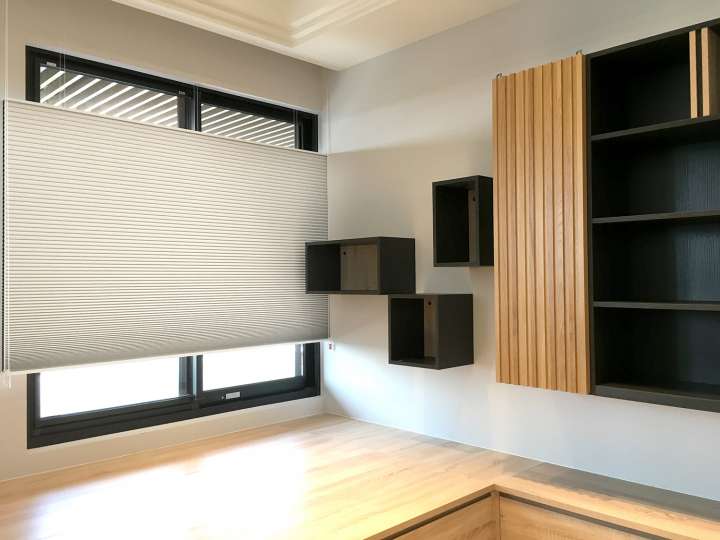
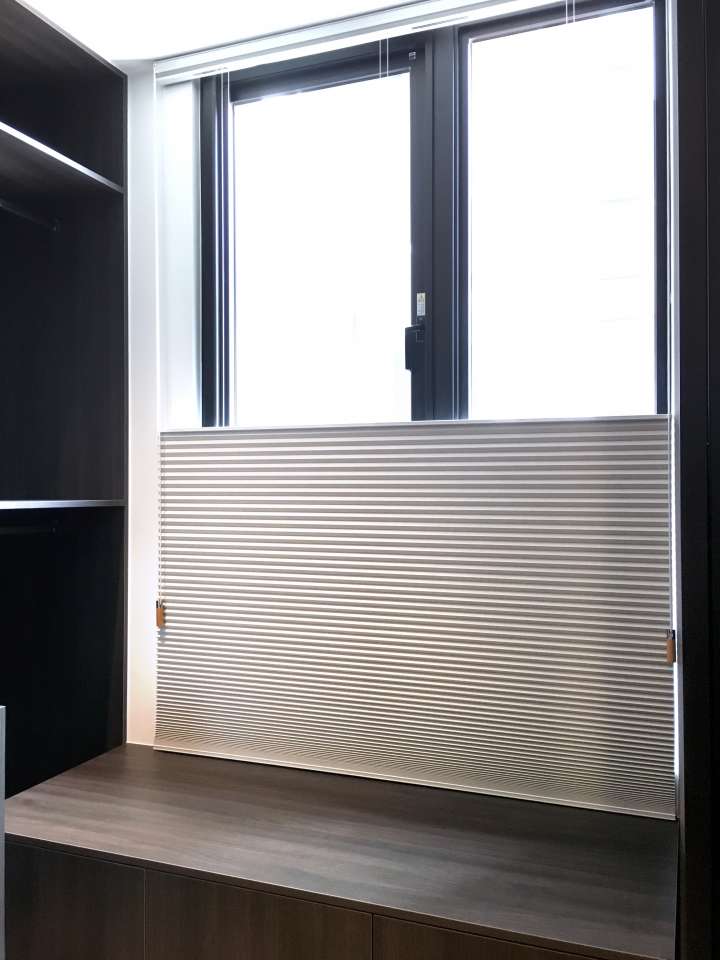
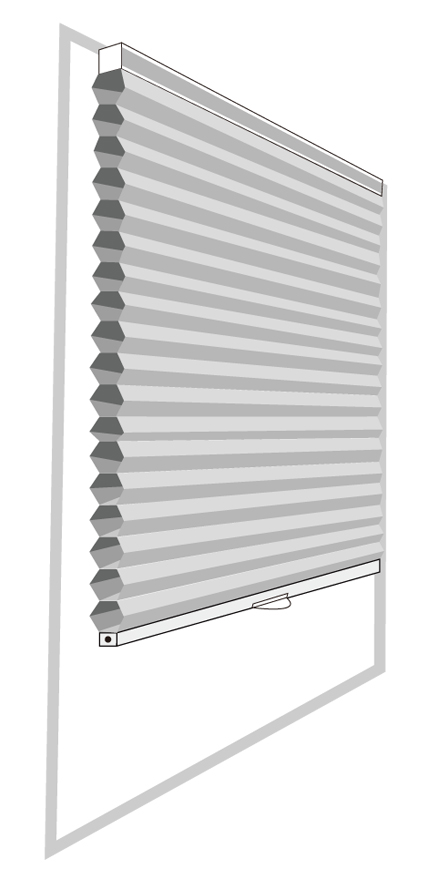
Install Honeycomb Shade-Cordless:
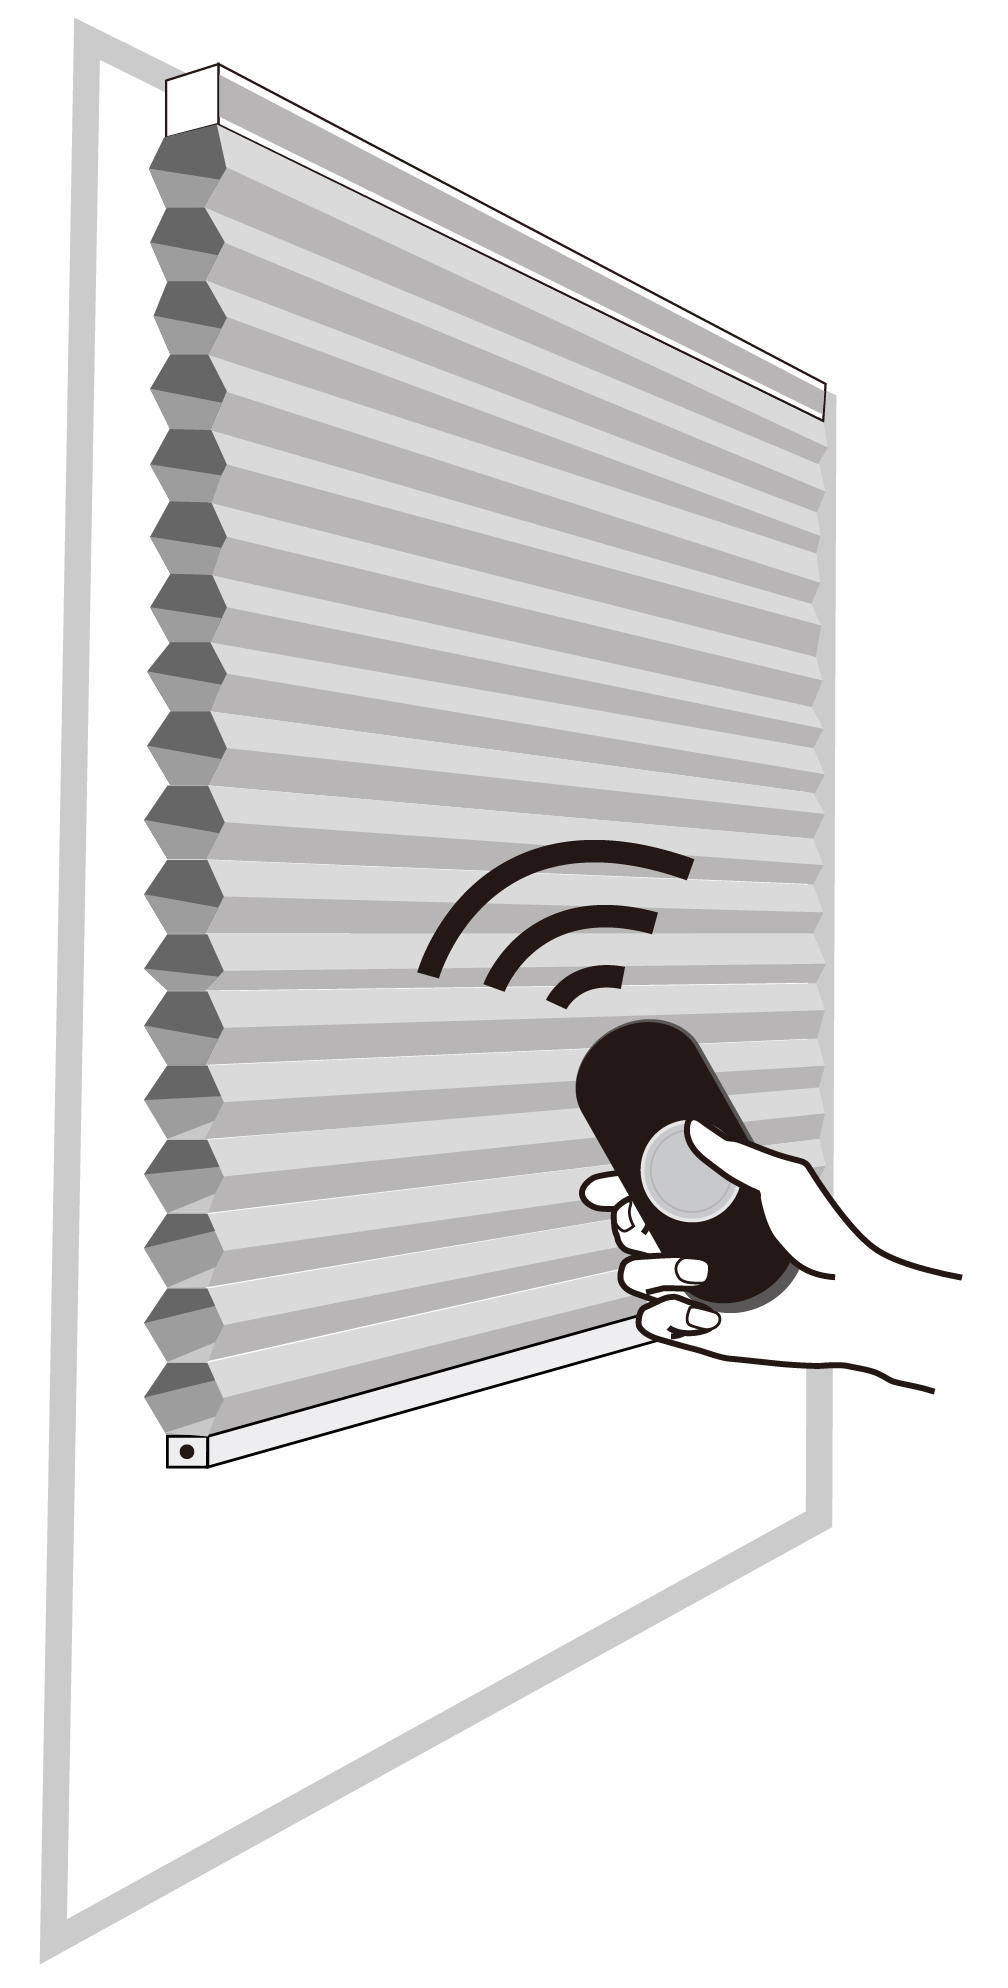
* Notice: Keep children away from accessories, pulling cords and slats. Any installation question, please contact MSBT staff for assistance.
* Attachment: Honeycomb Shade Installation Instruction in A4 Download/Print