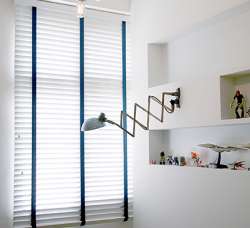
A variety of materials to choose from. Light adjustment, sunshade, insulation, ventilation can be achieved by rotating slats.
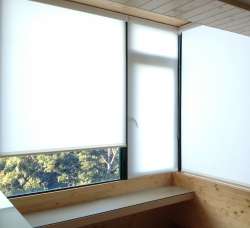
Creating a made to measure venetian blinds can perfectly suit to your place. STYLES / COLORSSimple and modern roller blind. It can be a decoration, sunshade, and regulator of natural light. We are offering a huge range of roller blinds price range and also provide cordless roller blinds for you.
Plain woven fabric with lively colors, natural paper material with unique weaving techniques, black-out textile with insulation and sunshade; these versatile functions can be applied to interior designs or other requests.Also called Cellular Shades. Ecological and energy-saving type of shade with simple and elegant style.
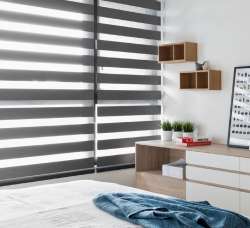
The thickening structure of honeycomb renders it hollow, which helps heat insulation and maintain thermostatic in indoor environment. Wide range of selection on types and functions. Cordless and Top-down-bottom-up system gives diversification to housing decoration and operation.It is also called Zebra blind or "light-regulating" roller blind, made of transparent and non-transparent clothes juxtaposed with each other. Adjust the indoor illumination by light fences created by the rotation of double striped textile.
Different textures and vibrant colors to choose from. Regardless of effective shading, maintaining daylight or other shading requests, double roller blinds can satisfy all.
Creating a made to measure double roller blinds/zebra blinds can perfectly suit to your place.
Suitable for windows of large area, such as French window. Vanes can be stacked up by drawing left or right, and with new Walk-Through design for easy moves. By adjusting the vanes, it allows you to control the amount of light coming in and shading area.
Yarn and mesh fabrics is used as extension and connection between vanes, adding the value of privacy as well as creating romantic atmosphere.A variety of styles, blending elements of fashion and natural tones. Simple and neat without losing the character.
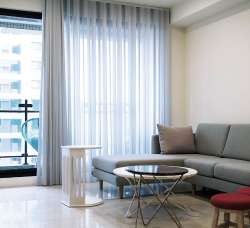
Creating a made to measure curtains can perfectly suit to your place. STYLES / COLORSArty rods and poles, decorative finials, and grommets are all painted with high-quality black finishes, which bring out the fabric color and the simplicity and neatness of space design.
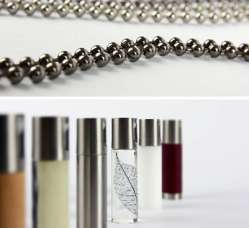
Metal ball chains and tassels are both aesthetic European design. They allow your window coverings to stand out from the rest and represent uniqueness in details.Custom Printed Service/ Printing customized patterns on the roller blind surface. Create desired ambience and strengthen the theme in the space or commemorate important moments.
Unique decorations at homes or commercial space.